So, I haven't managed to get much wargames stuff done, real life has been so very intrusive. I have managed to slap some more colours on the Early War German platoon and supports, but they are still a long way from being picture-ready. Some progress has been made on the buildings.
 |
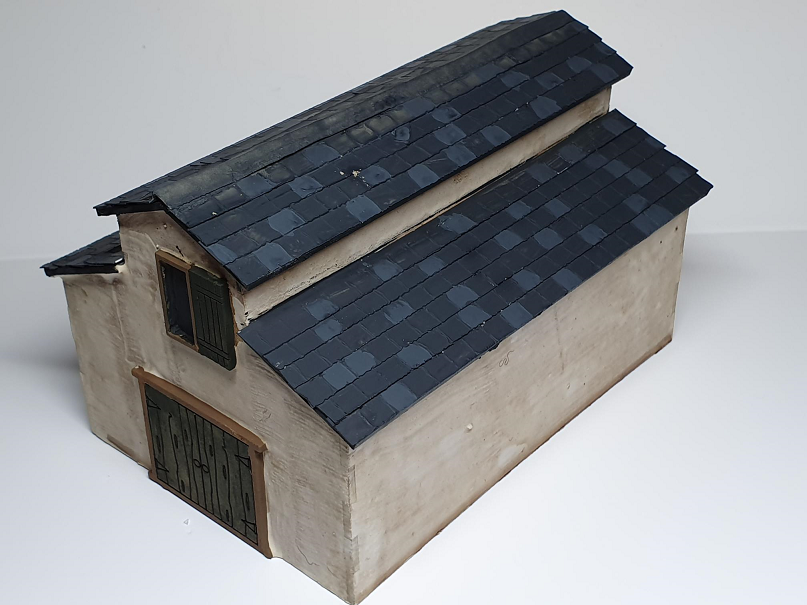
| Workshop |
I am fairly happy with the building design, and unlike my first thoughts, I have tiled the roofs, but I now need to add weathering, signage, and a range of little details like a light etc. I haven't quite worked out what kind of workshop it might be, but I wonder if it could be a bicycle workshop?
 |
| Cafe Normandie |
Ok, I have to confess; I am a little disappointed with how this is turning out. Essentially I got this wrong. There's a trap for young players, in that the Cafe Normandie signage should go on the first floor (second for our USA chums), and each of the flooring pieces has uniquely keyed tabs for the walls. So check that your signage piece, and the unique rear section for the first floor (2nd for our US cousins etc...) fit on the same floor section. Dry fit, dry fit, dry fit..
I ended up with the Signage on the second floor, as I assembled it quickly without checking, and it seems like I blew the whole thing. I simply couldn't get a neat join at the corner intersections, and even after a grouting coat, the interlocking sections are still painfully obvious.
Having seen the sample assembled model on the website, and a sample 'in the flesh' at Claymore, I can't believe the issue was the model, but much more likely that I just boobed in the construction phase. I wish I had another one of these to try and get it right, but ah well. In hindsight, as well as that, I wish I had elected to have the windows either fully closed with shutters, or entirely open. The half closed ones just look odd.
Anyway - on to something I am happier with - the Rubicon Stuart/Scott model.
 |
| As Scott |
 |
| As Stuart |
I have left the top hull section unglued so I can swap them out. In an ideal world, I would have cut away the top of the glacis plate and attached it to the different hull tops as the glacis is different, with the Scott having hatches there, the Stuart on the top hull plate. Again in hindsight, this would have been relatively easy, and I could have used magnets to hold the alternative turret + hull-top + glacis in place. At the time though I was again. rushing it.
As with all the Rubicon models I have made, this was an absolute delight to put together, with no flash and really well engineered. About the only thing I did to improve the model was drill out the lifting eyes. The decal sheet looks excellent, but the one criticism I have of the kit is that the marking options are not included anywhere, and so you are left to do your own research - which isn't ideal when you are looking at specific registrations.
I'm still hunting for specific combinations, if anyone can help out, let me know in the comments below.


No comments:
Post a Comment